
 Shuffleboard Refinishing
Here are some pictures of Corey Risty's refinishing project.
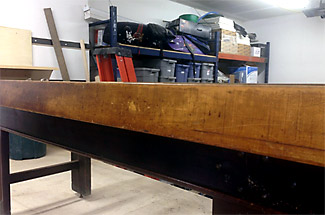
We picked up a 22 ft National Wide cradle with an American plank in it. I think it had been used in an Elk's lodge and then in a residence for many decades. Overall the plank was in decent
shape, the ends were worn down and heavily dented. Luckily,
I had a wife
that was extremely supportive, which allowed several long
weekends for
me to work on it.
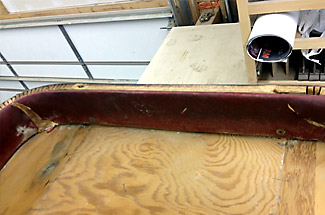
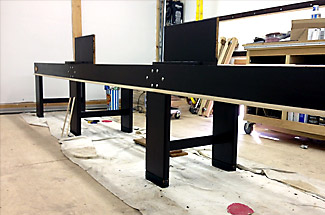
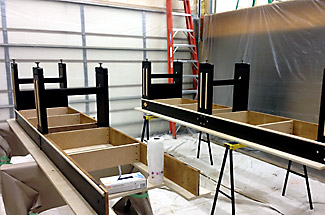
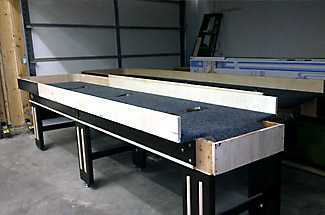
The top half of the cradle was probably in the roughest shaped. The side boards were cracked and dented while the end turns were also falling apart. The plywood was hacked apart to fit the climatic adjusters into it. The legs were in solid shape just heavily dented. I tore the entire cradle down into individual pieces and remove a few layers of the finish. I steamed and sanded all the legs down in order to pull the majority of dents out. Replaced all the hardware with stainless in order to add an extra layer of detail. All of the maple half round trim was replaced and left natural in color.
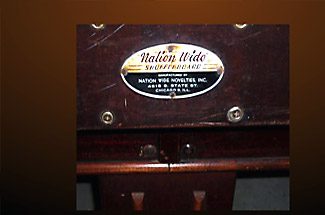
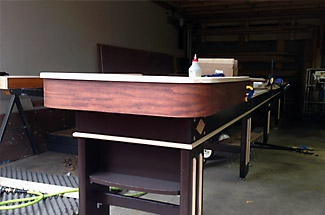
In order to get the dark brown color, I used several layers of a gel stain. The long side boards were replaced with curly maple that I had purchased for an additional project. The end-turn boards were the hardest to rebuild, due to cutting, steaming and bending the plywood. Finish consisted of spraying three coats of satin poly-acrylic on the cradle. Finally carpet was added and the cradle was complete. One open activity, I need to get the original metal Nation Wide placard polished and mounted.

.
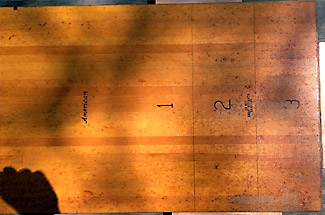
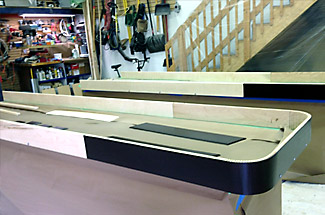
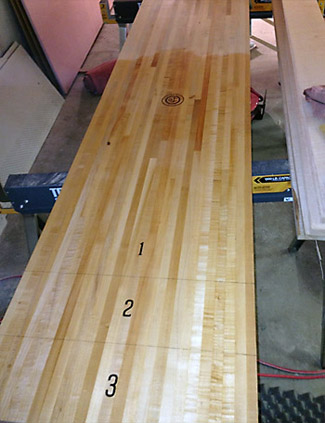
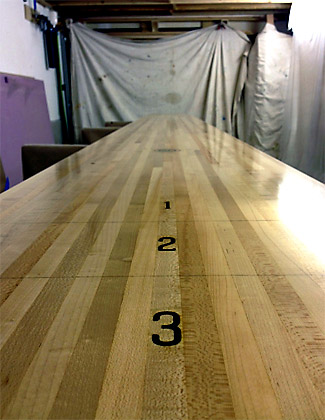
With the help of several friends, I transported the plank to a local cabinet shop that purchase wood from frequently and they ran it through their sanding machine. The result was a perfectly flat plank sanded to 150 grit in 20 minutes. Another good friend, designed custom numbers and a logo for me to use. I purchased the custom numbers and logo in a branding irons in order to burn them into the plank. Using my new HVLP gun, I sprayed approximately eight layers of gloss or semi-gloss poly-acrylic to the plank, with minimum scuff sanding in-between coats.


Last Saturday was the big day, we finally moved (with the help of some great friends) the plank into the basement through a window and was able to enjoy a long summer of hard work.
We are ready for the next Minnesota winter.